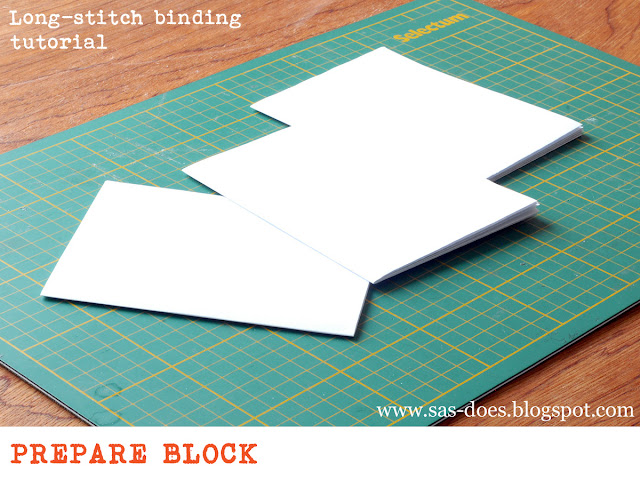
1. For this project you will need:
- cutting mat (optional but useful)
- ruler
- x-acto knife or scissors
- pencil or pen
- needle and thread (used in the second part of the tutorial)
- awl (could be replaced by a thick needle, a knitting needle, or any other spiky object)
- one-side printed paper (9 sheets)
- thicker paper for the notebook cover
___________
___________
3. When all future pages are ready, separate them in groups of 3 (three groups in total) and put one page inside the other, as shown on the picture.
___________
4. You should end up with 3 signatures - the notebook block.
___________
5. It's now time to figure out dimensions for the cover. The height of the cover equals the heights of the block (5 1/2 inch).
The width of the cover equals (the width of the block) x2 plus the width of the back of the block (aka the depth of the block). To measure the depth the block, slightly squeeze signatures together (like on the photo above). The depth of my block measured a little bit less than 1/32 inch.
The total width of my cover was: 4 1/4 + 4 1/4 + 1/32 = 8 17/32
You can add about 1/8 inch to height measure and width measure - this way your block will be sitting deeper inside the cover..
___________
6. Once the cover is measured and cut you will need to score and fold it. Just measure 4 1/4 of both sides and score lines.
If you added extra 1/8 to your total measure you have to take it in consideration, when scoring and folding the cover.
___________
7. When folded, your cover should look similar to the one above.
___________
8. It's now time to mark and pierce signatures. The height of the signature needs to be divided into 5 sections. You can choose to have equal-sized section or, like me, make the top and the bottom section bigger (or smaller). My 3 middle sections measured 1 inch each and my top and bottom sections were 1 1/4 inch each.
___________
9. Using an awl or a thick needle pierce signatures one by one. To ensure that holes are spaced equally on each signature use one of them as a guide.
___________
10. The last step is making horizontal slits in the cover. Once again use one of the signatures as a guide to mark the back of the spine. Make horizontal slits on the back without crossing the hinge-folds.
___________
All parts of the notebook are now ready. Later this week I will share the SECOND PART of the tutorial where we'll be sewing signatures and the cover together.


Блин-блин-блин... ничего не поняла))))
ReplyDeleteпросто прошиваются вместе тетрадочки и обложка? или как?
короче, я просто не поняла(((
может, намекнете, в чем "фишка"?
очень уж интересно, честно...
Без паники, сейчас всё разъясним! ;)
DeleteВ первой части я просто показываю как разметить правильно. Само сшивание - во втором посте: http://sas-does.blogspot.ca/2005/01/long-stitch-binding-tutorial-part-2.html
Если по картинкам непонятно как сшивать, напишите какой именно пункт вызывает затруднения и я постараюсь по-русски объяснить.
Great tutorial Anya! I've included it in our post 'top 10 Longstitch Bookbinding Tutorials' - http://www.ibookbinding.com/blog/long-stitch-bookbinding-tutorials/
ReplyDeleteThanks and keep up the good work!
Paul